#7: My First Attempt at Winter Sowing
See what I purchased and the steps I took to follow Wild Seed Project's advice on how to germinate native plant seeds over the winter.


There are a lot of different methods you can use to grow native plants from seed over winter, but I decided to use this approach recommended by Wild Seed Project. It just felt easier and more likely to succeed to me than some of the other methods I considered. In addition to that guide, there's also a step-by-step companion article and a YouTube walkthrough that I found to be the most helpful of all.
The first thing to understand when growing plants from seed is how they germinate. Each seed has a germination code, and the germination code dictates what the seed needs in order to germinate.
For example, germination code A seeds simply sprout after being sown in a warm location. Germination code C seeds sprout after being exposed to cold, moist environments for a specific period of time. The amount of time is shown in parenthesis after the germination code; for example, C(60) means the seed needs 60 days in a cold, moist environment to germinate.
Some seeds need way more hand-holding than others to germinate. For example, seeds with germination code F need a specific period of cold stratification, followed by a period of warm stratification, followed by another period of cold stratification, followed by another period of warm stratification.
To make my life easier, I mostly bought seeds with a C germination code and tried to pick ones that required the same number of days of cold stratification so I wasn't having to create detailed project plans for when seeds needed to be sown over the course of the winter. If everything needed the same treatment, I could knock everything out at once and stick the seeds outside when the weather cooled.
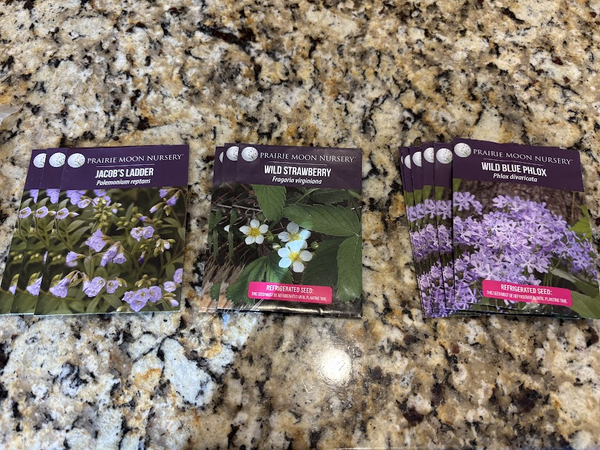
In my last post, I shared the list of seeds I purchased. The next step was to acquire the gear I'd need to germinate them.
One thing I will say about the guides and videos from Wild Seed Project is that they weren't always super specific on what I needed to buy — what kind of dirt, what kind of sand — so in some ways, I was just doing my best to read Amazon reviews and figure out what sounded like it was what I needed.
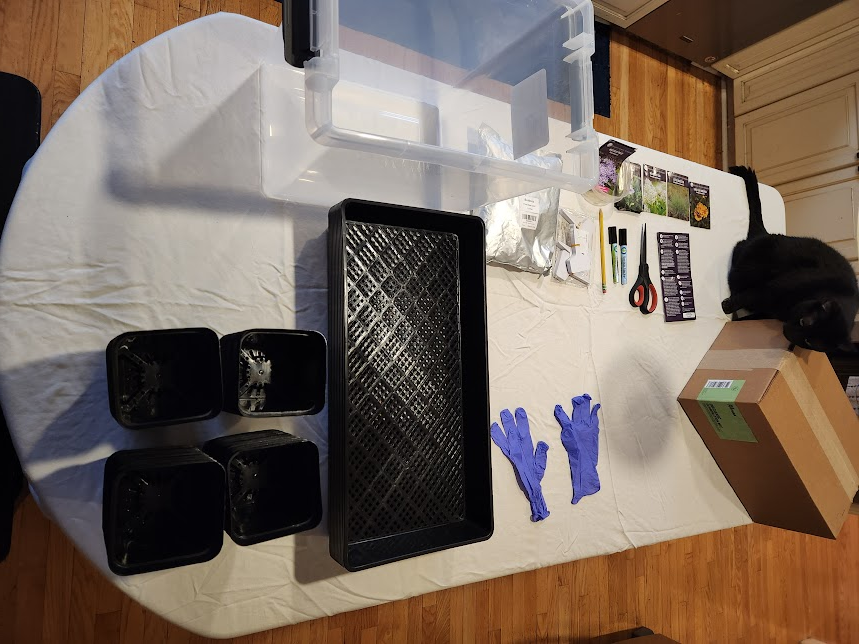
For the full project, I was going to need:
- Containers for my plants (I bought these 4 inch seed starting pots)
- Dirt to grow the seeds in (I bought this box of organic germination mix)
- Sand to sprinkle over the seeds (this helps keep the seeds from blowing away; I bought this silica sand because I liked the larger size of the sand grains)
- Tags to specify which seeds were in which pots (I chose these tags)
- Something to use to write the names of the seeds on the tags (Wild Seed Project strongly recommends writing the names in pencil because all other mediums fade over time, so I bought some of those, but I also grabbed some gardening markers just to try those out)
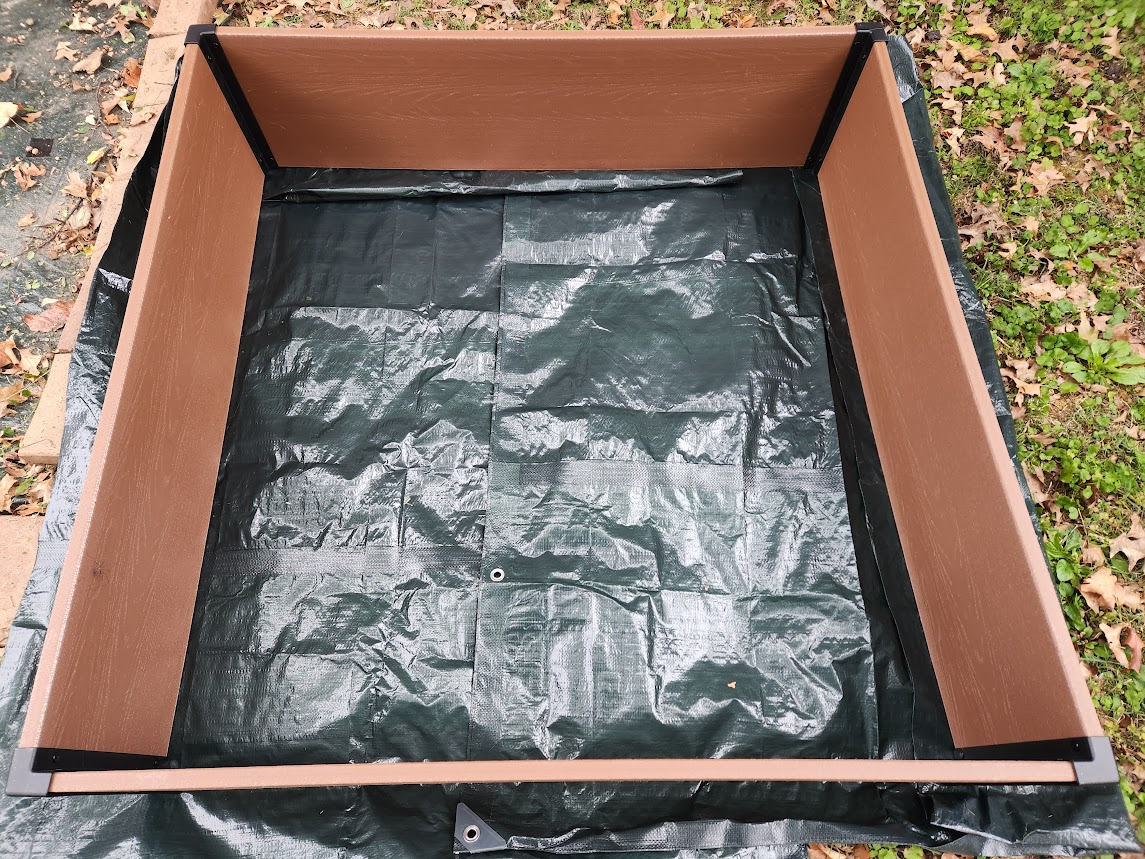
- A box to sit the seeds in (I considered just building one out of some 2x4s I have in the garage, but I was a bit short on time, so I ended up just buying this raised garden bed box)
- Something to cover the box to keep animals from getting into the seeds (I bought this roll of chicken wire because it was the right width to cover my box with one sheet, and I figured I could also use it to keep deer out of my vegetable garden in the spring)
I also bought a few things that I didn't absolutely need but thought would make my life easier and safer:
- Some fresh wire cutters to cut the chicken wire to the length I needed
- A cut prevention glove to keep the chicken wire from slicing my hand to bits while I was cutting it
- A stack of trays to hold my pots so I didn't have to make 40 trips carrying individual pots
I was happy with everything when it was delivered with the exception of the raised garden bed box which I'm pretty sure was made with cardboard with a plastic coating over it. It was incredibly flimsy given its cost, and after I put it together, I was worried it would fall apart while I was carrying it to its home outside. Luckily, it stayed in one piece, and it will definitely do what I need it to do. But if I could go back in time, I think I would just build the box myself and save the money.
With all of my equipment and seeds in hand, I was ready to get started. I took over my kitchen island (it was already too cold out to work outside) and got to work.
The first thing I needed to do was get my dirt wet. Since I couldn't work outside, I had to get a little creative. I grabbed a storage box I had in the basement, put about a third of the dirt from the box into it, and used the kitchen sink faucet to moisten it. The dirt was really dry, so it took a while and a lot of stirring to get it wet enough for the seeds. But eventually, it was all wet, and I was ready to start potting it up.
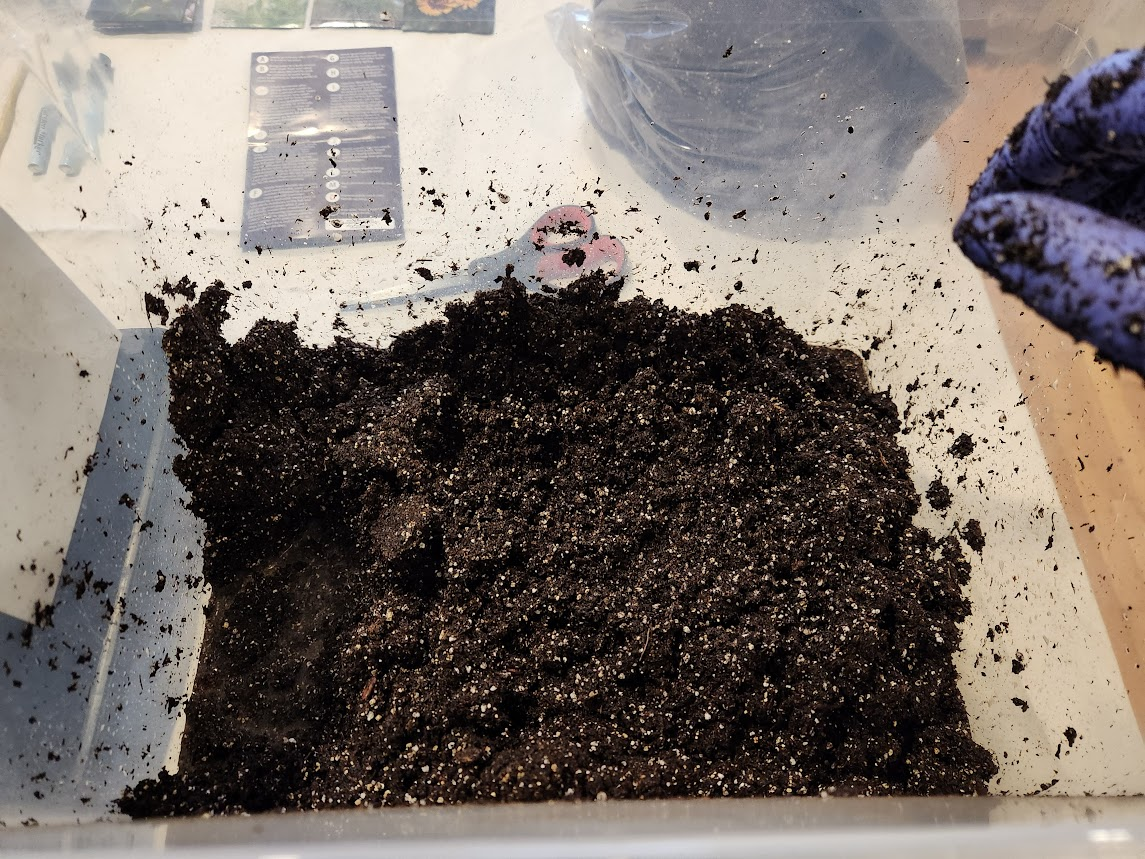
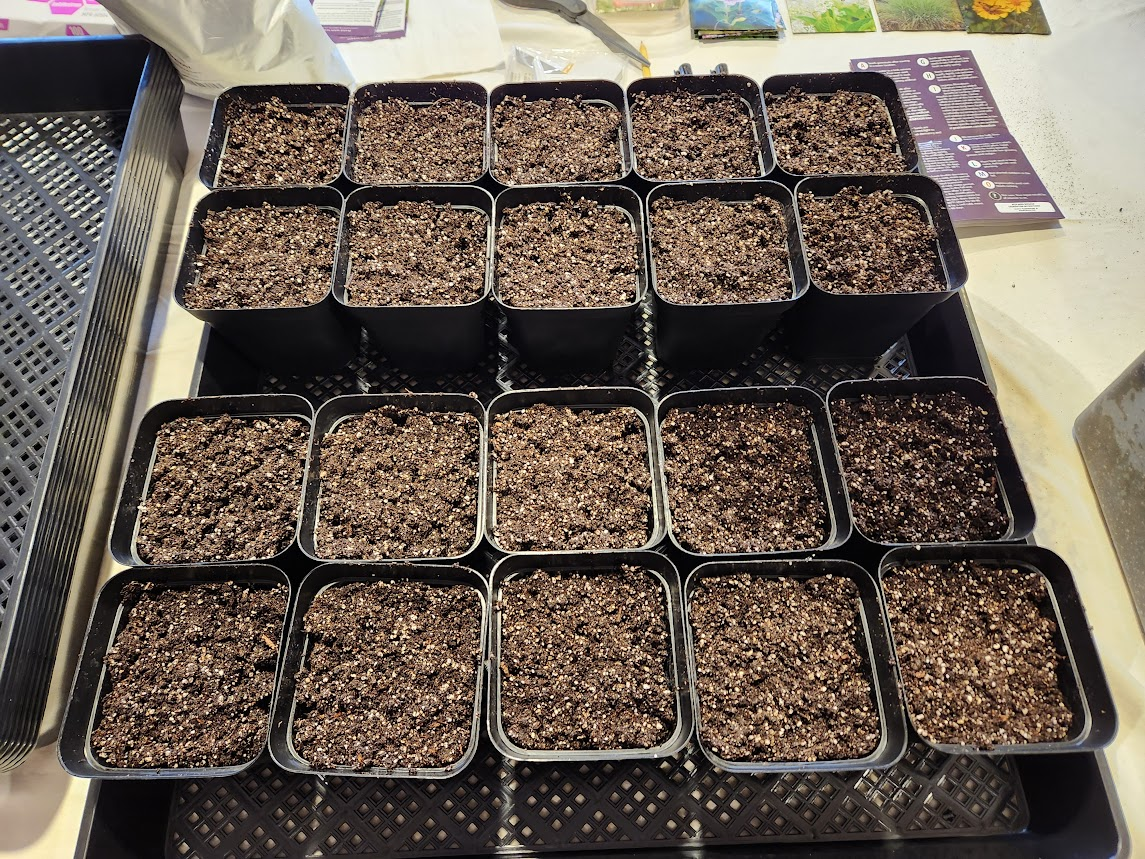
I filled each pot with dirt, compacting it somewhat but not too aggressively, and sat each pot of dirt into my trays.
Next, it was time to add the seeds. I opened each packet and poured them carefully onto a napkin to make them easy to see and less likely to get lost.
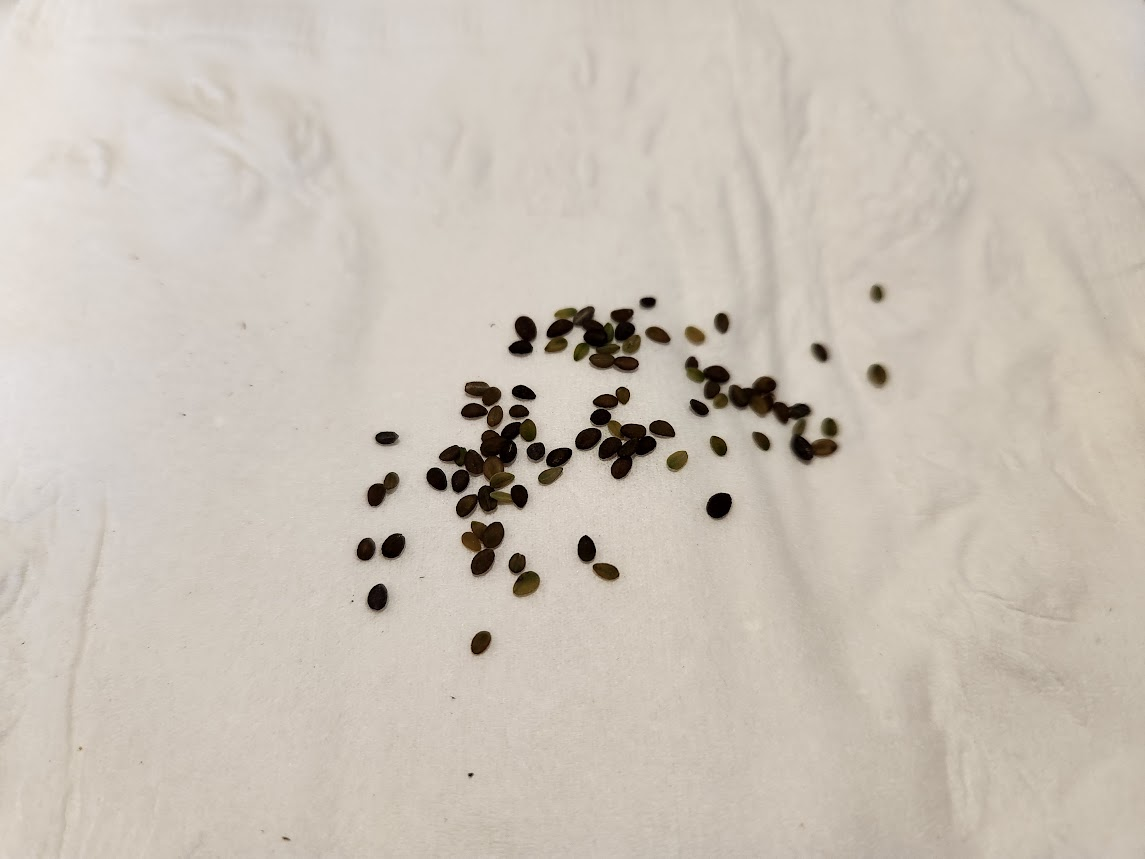
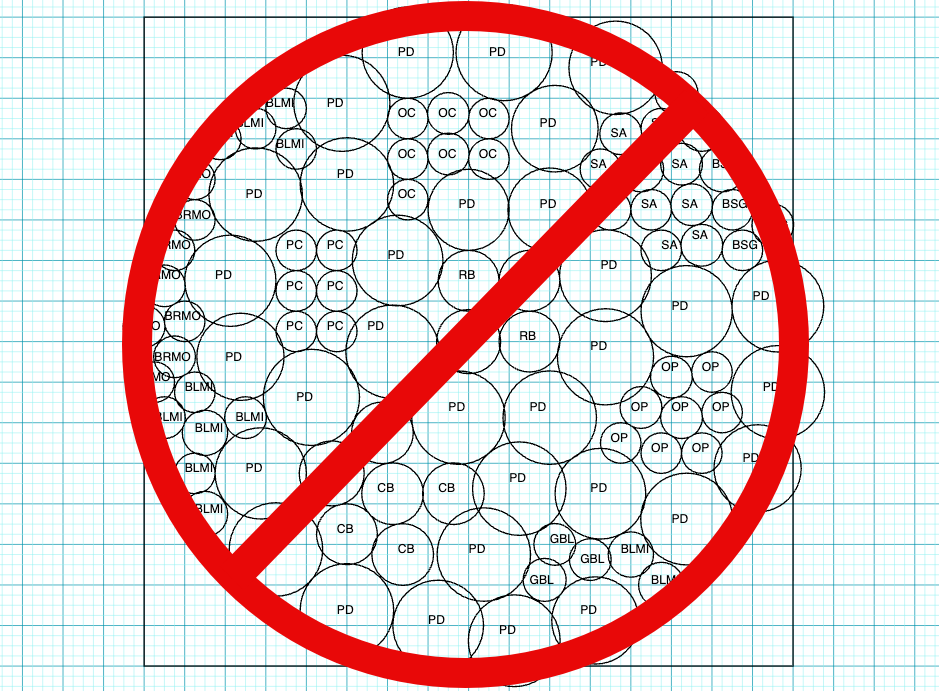
Originally, my plan was to ignore Wild Seed Project's advice to just grab pinches of the seeds and sprinkle them generously over the dirt. I thought it would make my life easier in the spring if I instead planted four seeds per pot — one in each corner — to keep their roots from growing together. That changed once I saw the size of most of the seeds. Some of them are just miniscule.
It would take weeks to try and carefully pick 1,400 seeds up individually and place them into the pots in their designated corners, so I went with the sprinkle method after all. (In the end, that meant that I way overbought supplies, but oh well. Hopefully this method works and I'll be able to use the remaining supplies next year.)
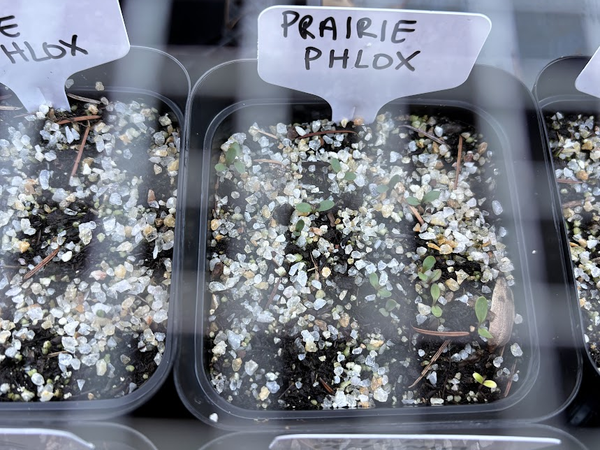
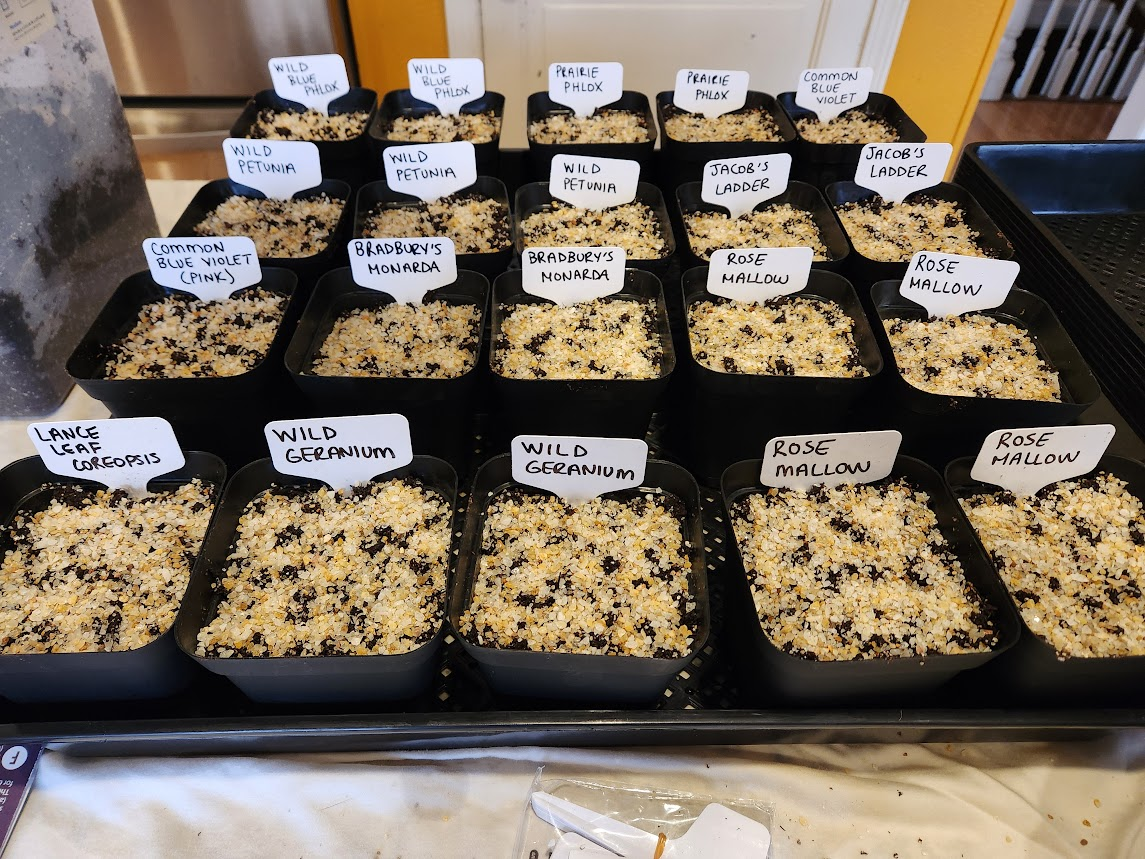
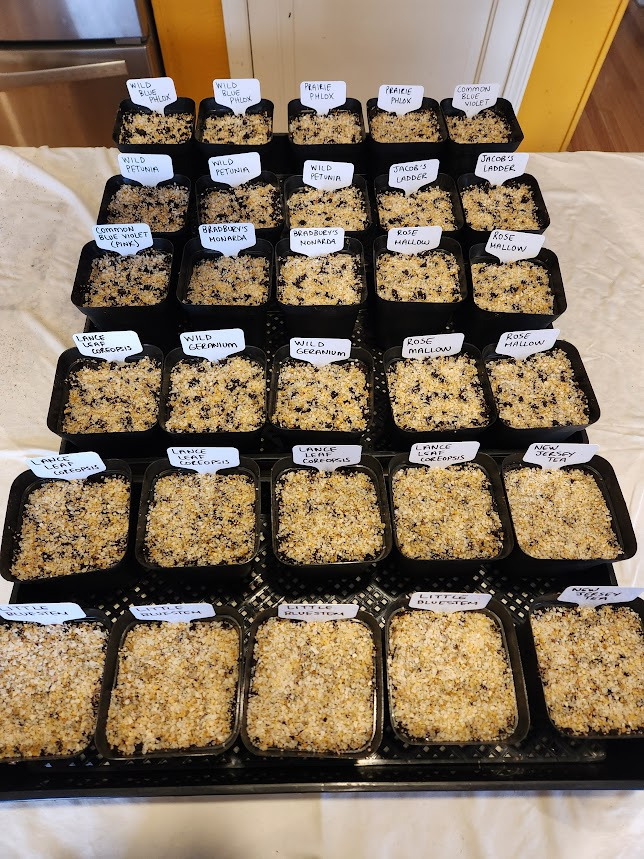
I sprinkled the seeds in carefully, lightly sprinkled sand on top of them, and labeled each pot with the seeds that were in it.
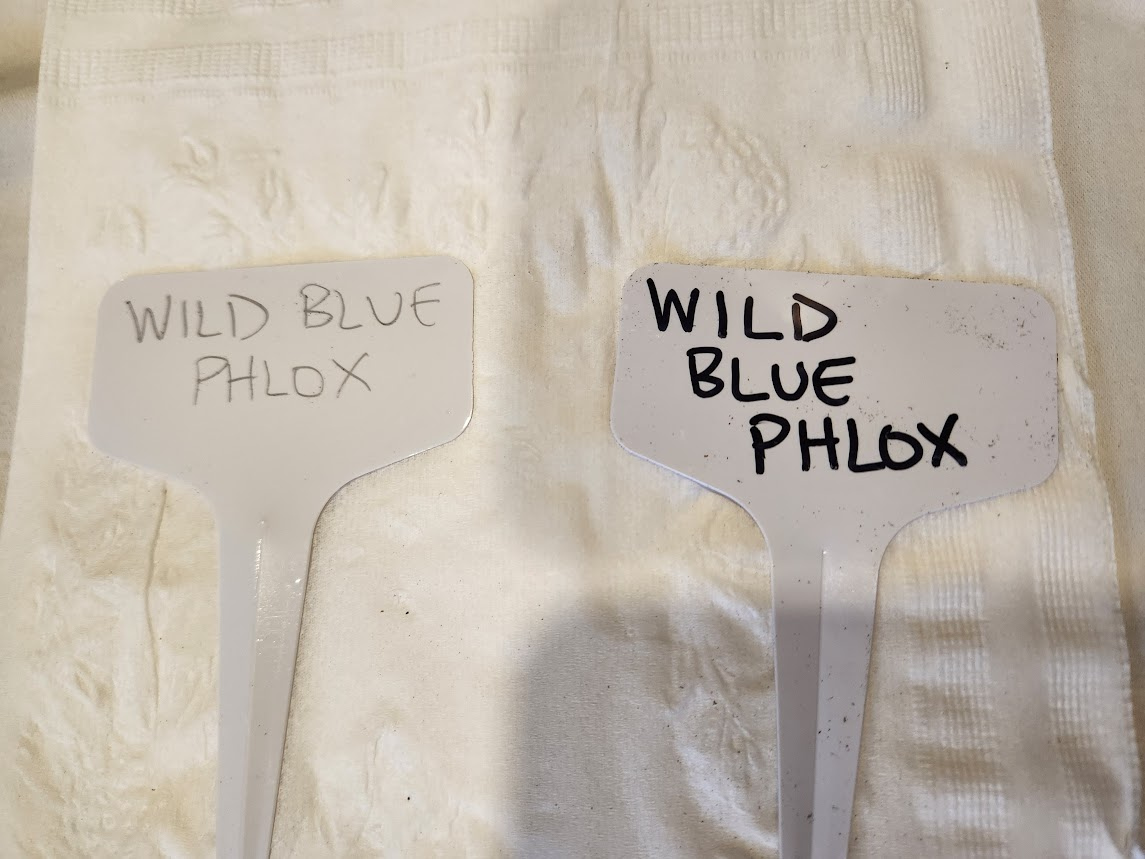
For the labels, I wrote one side in pencil on Wild Seed Project's advice and one in the gardening marker I purchased. The gardening marker side is more legible, but the pencil side will save me if Wild Seed Project is right and the marker fades while these sit outside over the winter.
Using the sprinkle method instead of my planned four seeds per pot method, I ended up with 30 pots of seeds — three total trays.
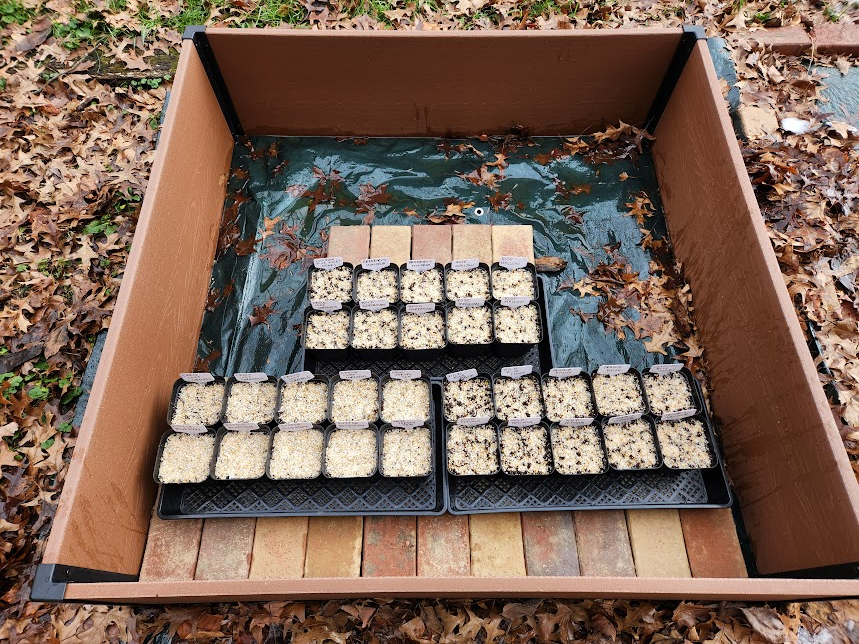
After that, it was time to move my seeds outside. Since I had a tarp on the ground, I needed something to sit the trays on top of because water pools on tarps, and I didn't want to rot my seeds by leaving them sitting in standing water. Luckily, I have stacks on stacks on stacks of bricks from a brick walkway I disassembled last year, so I made a little table of bricks to sit the trays on top of.
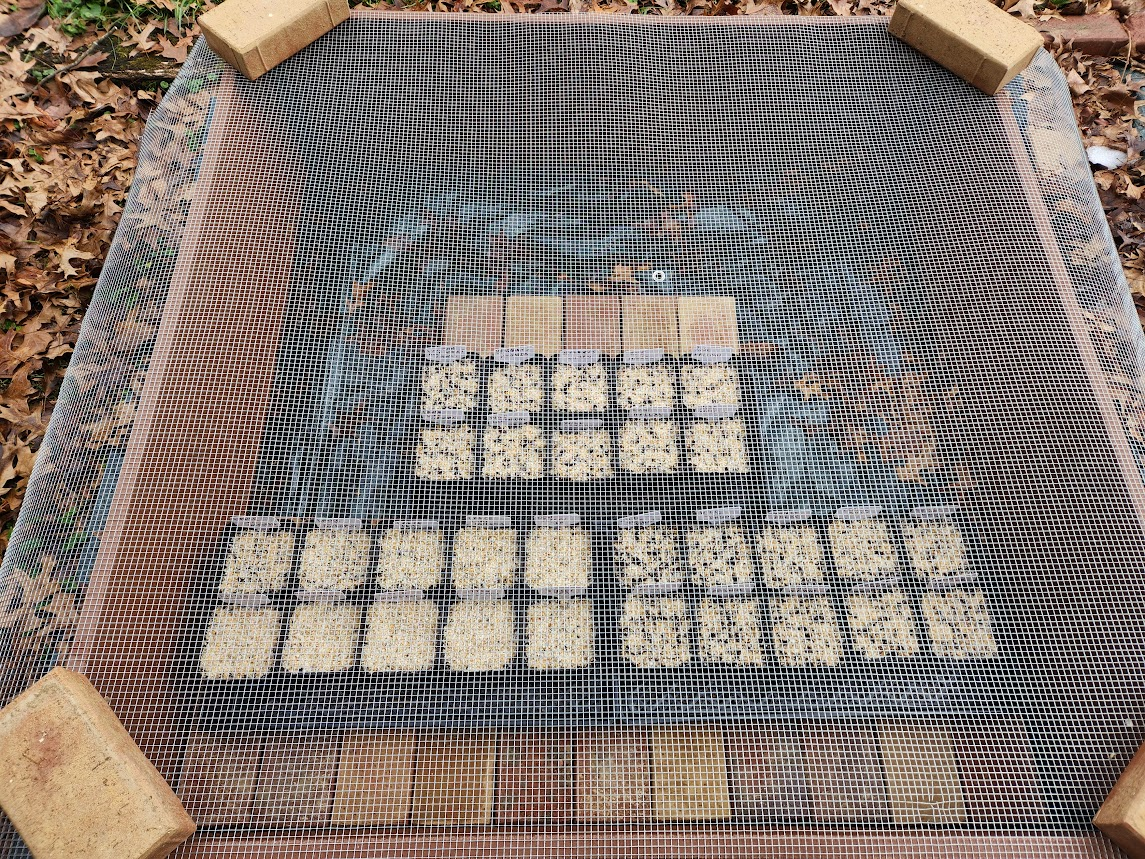
The last thing I needed to do was cover the box with the chicken wire I purchased to keep the birds and deer and rabbits and all of the nocturnal things I never see out of the seeds over the winter. I cut it to the size I needed, placed it over the box, and added a brick on each corner to keep it from falling off.
Now, I just wait and see what happens in the spring! I'll water the seeds over the winter if needed, but it tends to be pretty wet here during the winter, so I'm not sure how much watering I'll really need to do.
In the spring, I'll report back on the results of this experiment. I'd personally recommend holding off on replicating this yourself until then as this is my first time doing it and I have no idea if it will work or not. I'd say I'm both hopeful and pessimistic. I feel like I followed the instructions of the pros and it should work, but my history with killing plants makes me a bit pessimistic.
Make sure to subscribe below so you'll get an email when I share what's sprouting (or my disappointment) in the spring!
Next Post: